Setup
Prepare the editor
Open a sketch in the p5.js Web Editor. Replace its index.html with this file. For a local project, serve the folder through localhost.
Keep the release URL fixed so the sketch continues to load the same version.
index.html
<!DOCTYPE html>
<html lang="en">
<head>
  <meta charset="utf-8">
  <title>penplotter start</title>
  <script src="https://cdn.jsdelivr.net/npm/p5@2.2.2/lib/p5.js"></script>
  <script type="module">
    import { install } from "https://cdn.jsdelivr.net/gh/seb-prjcts-be/p5.penplotter@v0.3.1/dist/p5.penplotter.js";
    install(p5);
  </script>
  <script src="sketch.js"></script>
</head>
<body>
</body>
</html>
Your first circle
In a sketch with p5.penplotter installed, replace sketch.js with this code and press Play.
let plot;

function setup() {
  createCanvas(400, 400);
  plot = createPlot({ paper: "A4", width: 100 });
  noLoop();
}

function draw() {
  background(255);
  noFill();
  plot.circle(200, 200, 300);
  plot.showBed();
  plot.go();
}plot.circle() draws the circle on screen and records it for the plotter. Its arguments are the centre and diameter, as in p5. noLoop() keeps the sketch from recording the circle again each frame.
This example centres A4 paper on the configured machine bed. Set paper to the format already on your plotter. showBed() displays where the drawing will land on that sheet.
width: 100 makes the canvas 100 mm wide on paper. This circle has a diameter of 75 mm.
Draw it on paper
Use Chrome or Edge. Connect the plotter by USB and switch it on.
Prepare the paper and pen
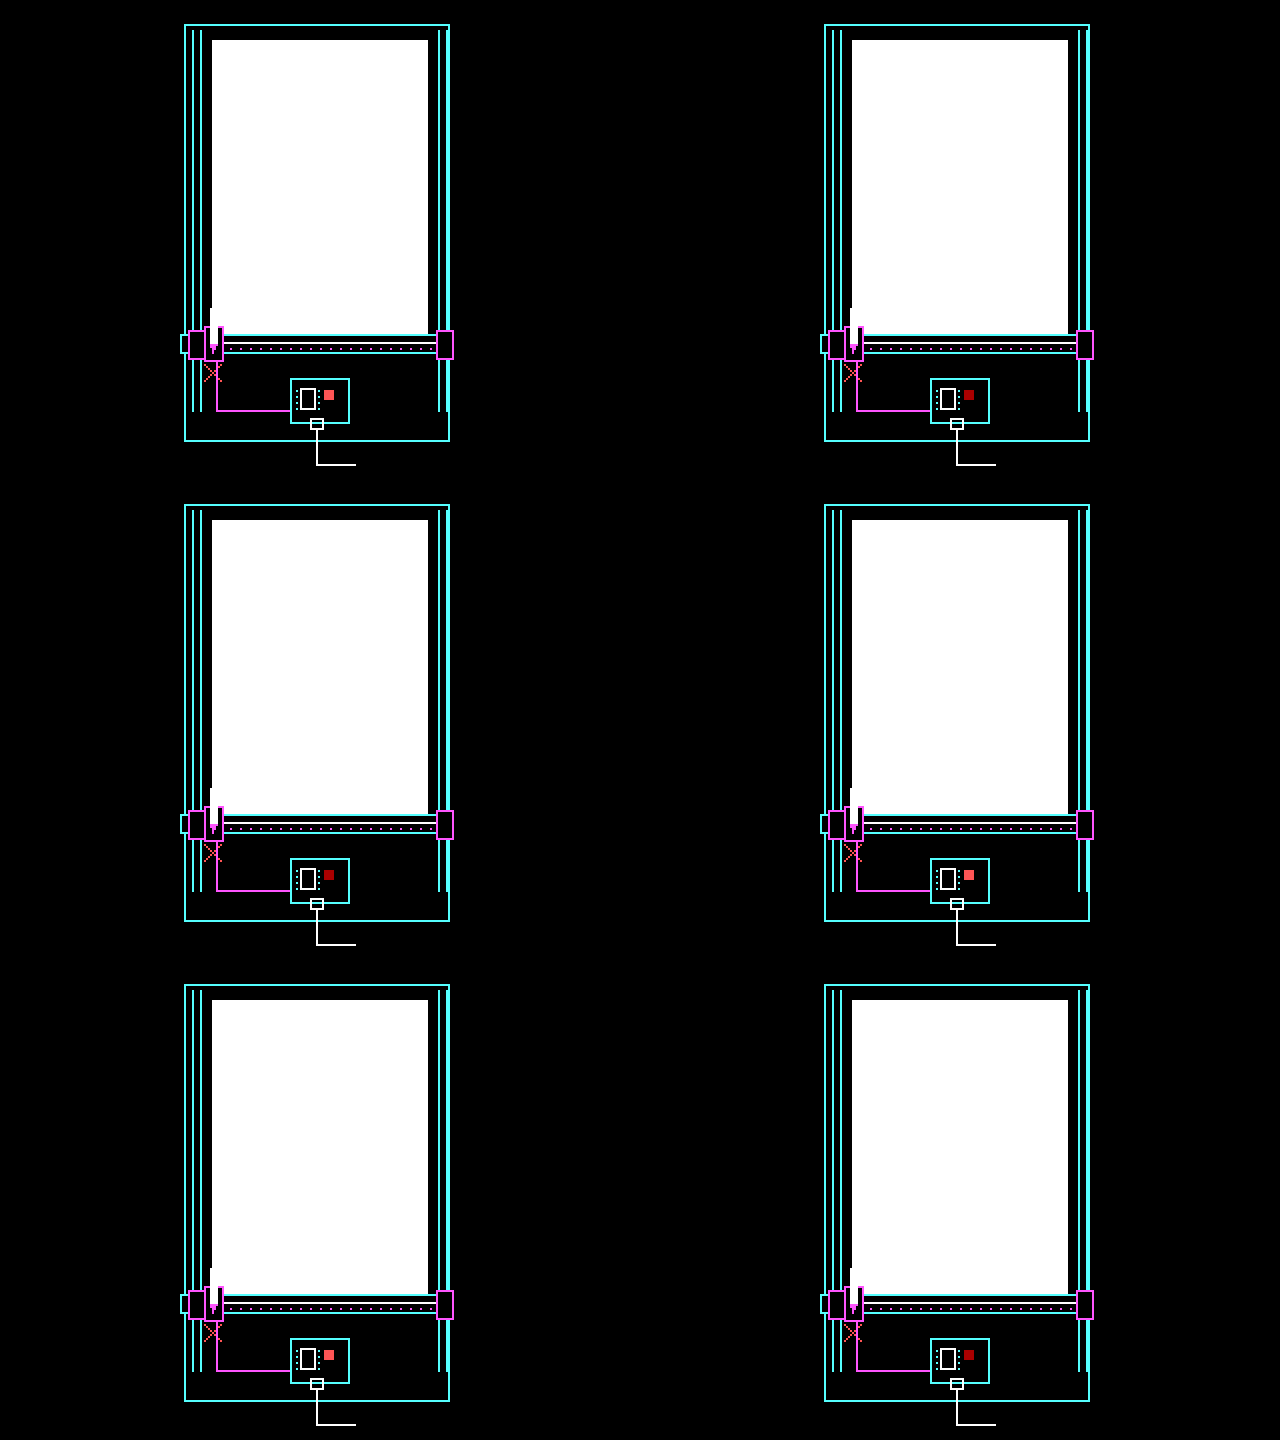
On my iDraw HSE / A2, the starting corner is bottom left when the long rails run away from you. With the motors off, move the carriage to that corner. The driver takes this position as zero; the machine does not find it automatically.
Place the paper where the bed preview shows it, or add paperX: 0, paperY: 0 to createPlot() to put the sheet in the starting corner.
Click the drawing. Select the plotter in the browser's port list and click Connect. A second click on the drawing requests a stop.
If your machine has a different starting corner or motor direction, confirm its origin before plotting. Moving the carriage to another corner does not change the driver's directions.
After an EBB stop or error, switch off the motors and return the carriage to the starting corner before trying again.
A3 H with DrawCore
For the tested A3 H, replace the createPlot() line in setup() with:
plot = createPlot({
  paper: "A4", margin: 12,
  drawcore: {
    travel: { width: 420, height: 297 },
    penUp: 0.5, penDown: 5, penFeed: 1000,
    drawFeed: 600, travelFeed: 900,
    axes: { swapXY: true, xDirection: -1, yDirection: -1 }
  }
});
Keep the drawing calls and plot.go(). Without width, the canvas fits inside the paper margins.
Open the A3 H test page in Chrome or Edge on the computer connected to the plotter. Click Connect, read Status and Controller settings, then try Pen up. With the carriage at your starting point, use the XY-origin button and test the 1 mm moves before drawing the 10 mm line. The page can save its command log.
The library recognises DrawCore from the controller response. The pen heights and axis directions above were tested with DrawCore V2.09 on one A3 H for a 10 mm line and square. Larger drawings and stopping during motion still need a physical test. Stop lets accepted moves finish and is not an immediate emergency stop; the latest pen lift on stop has not been tested on the machine yet. DrawCore plots one drawing at a time and does not reset or resume automatically.
If the installation fails
createPlot is not defined: check that the module loaded and thatsketch.jsis a normal script. CallcreatePlot()insidesetup().p5 is not defined: put the p5 script before the module script and check its network request.- No serial port list: use Chrome or Edge on HTTPS or localhost, then click the drawing.
- An older version keeps appearing: reload with Ctrl+F5.
Continue with the Guide to learn the drawing calls and the two ways to plot.